If your crawl space smells like an old gym bag and your floor feels a little spongy, you are not imagining things. Crawl space mold is greedy. It steals air quality, chews on wood, rusts metal, burns through money. The cure is not a magic spray. The cure is water control, a crawl space sump pump where needed, a tight under house vapor barrier, then either real crawl space encapsulation or a smart ventilation plan. In this guide I will walk you through the fixes that actually work, with a little tough love and a lot of field tested detail. If you are not sure what you are seeing, start with our quick primer on black mold signs & test.
Why crawl spaces grow mold
Mold does not move in until moisture rolls out the welcome mat. Crawl spaces pull moisture from the ground. They also catch gutter spills, slope mistakes, plumbing drips, sweat on ducts, even humid outdoor air that drifts in through vents. Once wood sits above about 16 percent moisture content, mold spores wake up, feast, colonize. The Environmental Protection Agency is blunt on this topic. Dry wet materials within roughly one to two days or plan on mold growth. Their mold course hammers this point because moisture control is the whole game. If you like receipts, read the EPA sections on drying and water control at this page and this one.
Below your feet, mold is not the only troublemaker. Crawl spaces influence indoor air through stack effect. Warm air rises. Air from below gets pulled into living areas, which is why people smell a musty note right after the heat or AC kicks on. If you want a clear breakdown of the science in plain English, check our explainer on how mold spreads. The punchline is simple. Control moisture under the house and you improve the air above it.
The first 48 hours in a wet crawl space
Water showed up under the house. Now what. Start with safety. Wear a respirator rated for particulates, gloves, eye protection, disposable coveralls. Skip crawling through areas with heavy growth or areas that feel soft under hand or knee. If a large section is covered in visible mold, call a pro rather than kicking clouds of spores into the air. If you want a clear step by step walkthrough, use our field guide to check for mold after water damage.
Start with fast wins. Pump or shop vac standing water. Pull wet debris. Prop open the crawl space entry to vent that first burst of moisture while you work. Set a dehumidifier at the access door to drop the initial humidity spike. Aim fans across wet soil only if they are exhausting to the outdoors. Do not blow air from the crawl space into the house. Photograph what you see. That helps with an insurance claim or a contractor estimate. If there is a recurring source like a leaking hose bib or a failed washer drain, stop the source before anything else. The EPA guidance sets a simple clock. Dry in under two days or you are in the red zone for mold growth. Take that seriously.
Fix outside water first
Most crawl spaces stay wet because the house tells water to hang around. Gutters overflow right where they should carry water away. Downspouts dump at the wall. Soil pitches toward the foundation. Start outside before you spend a dollar inside.
Clear gutters so they run clean. Add extensions so downspouts release water well away from the foundation. I like ten feet when possible. Correct soil grade so the ground drops about half a foot over the first ten feet out from the house. That slope sends surface water away. Watch for low spots under deck steps and air conditioner pads. Aim sprinkler heads away from the foundation so they do not soak the same corner every day. The EPA calls these simple measures the backbone of moisture control for a reason. A dry crawl space starts outside. Again, their guidance is right here for reference at this EPA page.
Groundwater solutions sump pumps and drains
Some sites sit on a high water table. You can have perfect gutters yet still find water pooling on the crawl space floor after a hard rain. In that case, you need a way to collect and move water out. This is where a crawl space sump pump and perimeter drain earn their keep.
A common setup looks like this. A shallow trench runs around the interior perimeter. A perforated pipe sits in washed stone wrapped in fabric to filter silt. The trench slopes gently to a sump basin set at a low point. Water collects in the basin. A float switch kicks on the pump. Water moves up through a discharge line that includes a check valve so it does not fall back. The line exits to daylight or a storm drain if the local code allows that connection. Without a check valve, your pump gets a leg workout for nothing and the basin refills as soon as the pump stops.
Where should the basin go. I like it near access when possible so maintenance is not a circus act. Keep the cover tight so humidity and bugs do not climb out. Consider a battery backup pump so a storm related power outage does not leave your crawl space underwater. Test the pump twice a year. Pour a bucket of water into the basin and watch the float. Listen for weird noises. Replace a clogged check valve before it shorts your pump life by half. Building Science Corporation spells out the same logic. Encapsulation without drainage just traps a lake under plastic which rots wood, feeds mold, invites critters. They cover this in their crawl space design guidance at this page. The EPA backs it too at this page.
Vapor barrier basics that work
A vapor barrier for a crawl space is not a thin tarp tossed like a picnic blanket. It is a ground cover system. The code minimum is a Class I ground vapor retarder, usually 6 mil polyethylene. That will slow ground vapor if installed well. In real crawl spaces where people crawl for repairs, 6 mil rips like tissue under knees. I recommend 10 to 12 mil polyethylene or a reinforced liner. That thickness holds up to traffic and keeps seams tight long term. The Home Inspector community and Green Building Advisor have both covered this topic in detail. See their guidance at this article and this product discussion at this page.
Details make or break the install. Overlap seams by at least six inches. Tape seams with high quality tape that sticks to polyethylene long term. Butyl tape is my go to in damp conditions. Turn the vapor barrier up the foundation wall. Seal that vertical leg with mastic or compatible adhesive then, for the belt and suspenders crowd, add a mechanical termination bar. Wrap and seal around piers. Pre cut for plumbing and wires then seal those cuts. Crawl spaces are full of puncture hazards. Keep a roll of compatible tape for repairs. Where traffic paths are inevitable, drop down treated plywood runners or plastic crawl boards. You just paid for a better liner. Protect it.
One more detail that often gets skipped. If a crawl space has bare soil with dips and bumps, rake out the big humps and fill the deep craters so water does not pond on top of the barrier. The barrier should lie flat with minimal tension so it does not pull free at the wall after someone crawls across it.
Encapsulation vs venting in plain English
This debate pulls strong opinions. Venting is simple. Encapsulation with conditioning is a system. The modern building science camp favors sealed crawl spaces in many climates because vents invite humid air that condenses on cool surfaces. That moisture feeds mold and decay. A sealed approach covers the ground, seals wall vents, insulates the foundation wall or the rim, then controls humidity with either a small supply of conditioned air or a dedicated dehumidifier. Building Science Corporation lays this out with clarity at this resource and their newsletter on crawl spaces.
When is venting still reasonable. Arid climates with long dry seasons can squeak by with a well detailed ground vapor barrier plus limited venting during dry periods. Any region with muggy summers or big swings in humidity pushes the balance toward a sealed approach. If your furnace, water heater, or central ductwork lives down there, a sealed crawl space keeps that equipment in a friendlier environment. If you are in a known radon zone, plan a radon rough in before you seal. That means a sealed liner tied to a suction point that can be vented outside. It is cheap insurance during encapsulation and headache free if a future test comes back high. Follow local code for required ventilation air if you choose supply air from the HVAC. Give that air a way back to the return path as well. Without a return pathway, you pressurize the crawl space and potentially pull humid outdoor air into walls elsewhere.
Humidity control after encapsulation
Once you button up the crawl space with a vapor barrier crawl space system, you still need to control the air inside. The target is simple. Keep relative humidity below roughly 50 percent. Some swing is fine. Lower in winter is normal without discomfort since the space is unoccupied.
You have two common strategies. First, bleed a small amount of conditioned air from the supply plenum, often sized by code at a tiny fraction of living area CFM. That air keeps things dry as long as the system runs during sticky months. This approach needs a return pathway so the air is not trapped. A louvered return to a nearby closet can work if designed by an HVAC pro who understands pressure balance. The second strategy uses a dedicated crawl space dehumidifier sized for the volume of the space. These units sip power compared to the cost of rot. They hum along regardless of the thermostat.
Where should the dehumidifier drain. Run the condensate to the exterior or directly to the sump basin. Do not run it into a house sewer unless a plumber approves a code compliant trap and air gap. Give the unit its own electrical circuit where possible. Elevate it on a stand or wall brackets so it is safe from splash. Change filters on schedule. The EPA general guidance for indoor humidity sits in the 30 to 50 percent band. You can read their mold course material at this page. Building Science has a strong take on humidity control in sealed crawl spaces as well.
DIY checklist and pro help
Plenty of homeowners can do first steps. Clear gutters. Add downspout extensions. Rake out the crawl space floor. Lay a tough vapor barrier with careful seams. If you love a Saturday project and do not mind tight spaces, great. That said, some situations need a specialist.
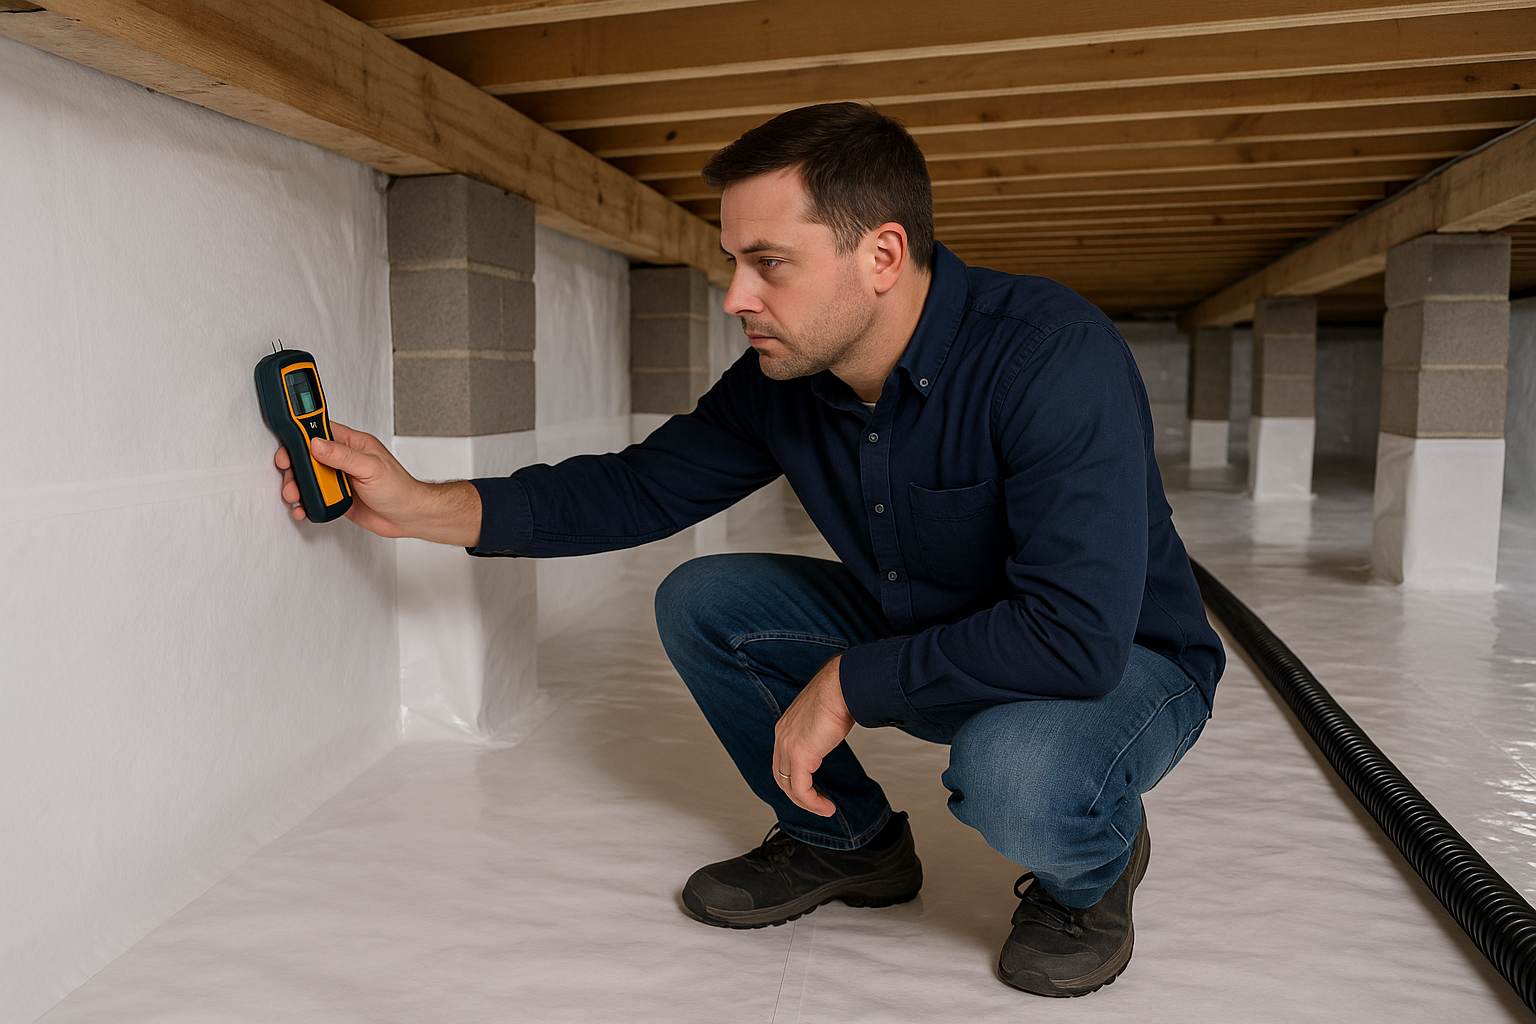
Call a pro if you have standing water that needs trenching or a sump basin. Call a pro if visible mold covers more than a few square feet. Call one if the floor sags or joists look punky. Bring in a pro if your air handler or gas appliance sits in the crawl space. Radon test before sealing if your region has known risk. A basic radon detector gives you a baseline. A moisture meter on joists is also helpful. Dry framing typically sits under 16 percent moisture content. If you see numbers well above that along with musty odor, do not wait. If mold keeps popping up in the same spot, you may be treating symptoms. See our root cause explainer on why mold returns and stop the loop.
Cost ranges and warranties
Costs swing with soil conditions, access, home size, liner thickness, drainage complexity, code quirks. A crawl space vapor barrier with taped seams will sit at the low end, while a full encapsulation with wall insulation, sump pump, basin, perimeter drain, and a dehumidifier lands higher. Homes with tight clearances or rock in the soil push labor hours up. A backup sump pump or upgraded liner also adds cost but saves money later when the first storm or the first plumber visit tests your system.
Warranties in this world cover materials and workmanship for the scope installed. No one can promise a dry crawl space if gutters dump at the wall or the yard slopes like a skate ramp back toward the house. Many contractors offer an annual service plan with a pump test, liner check, and a humidity log. That small visit keeps you from buying a new subfloor in five years.
Common mistakes that wreck crawl spaces
Loose plastic tossed across the ground with vents left open. Outdoor humidity runs right under the liner, pops at the seams, soaks wood. Then you get the call that the vapor barrier failed when the real problem is air and water bypassing it entirely.
Encapsulation without perimeter drains or a sump pump where groundwater collects. Water ponds on top of the liner, which creates a giant petri dish until the day the liner floats like a waterbed. Drainage first. Encapsulation second. That is how you keep things dry.
Using thin 6 mil plastic in a crawl space that sees regular traffic. One crawl by a plumber, three tears. Each rip becomes a ground vapor leak. A 10 or 12 mil reinforced liner shrugs off knee pads and tool bags. Green Building Advisor has a helpful primer on thickness at this page.
Skipping the turn up and seal at the foundation wall. If the liner does not climb and seal to the wall, moisture bypasses at the edge. Lap, tape, turn up, seal. Boring detail, massive payoff.
Letting the dehumidifier drain onto the ground. That just feeds the problem. Pipe it outside or into the sump basin. Simple fix.
Missing check valve on the pump discharge or a discharge line that freezes solid. The pump cycles constantly then burns up. Add a check valve. Pitch the line so it drains. Keep the outlet clear of mulch or snow.
Ignoring duct and pipe sweat. Cold air ducts in humid air collect condensation. That water drips onto wood. Insulate the ducts or bring humidity down. Better yet, both.
Maintenance that keeps mold away
Dry is a habit. Make a quick round outside twice a year. Clear gutters before the first leaves fall. Check every downspout for a tight connection. Re seat extensions that walked away during mowing. Watch for soil that has settled back toward the wall after a season of rain. Kick it back to a slope that drains outward. Our seasonal preventative maintenance checklist keeps all this on one page.
Inside the crawl space, pop the access door every few months. Glance at the liner for puddles or tears. Press a moisture meter against a joist for a quick read. Peek at the sump basin. Lift the lid and make sure there is no rotten egg smell, which can signal a stagnant pit. Test the pump with a bucket. Vacuum the dehumidifier filter. Confirm condensate is flowing. Stick a cheap humidity sensor down there and log a reading. A short visit beats a big repair.
Quick FAQ on crawl spaces
Do I need a sump pump in my crawl space
If water shows up after rain or the soil is damp enough that it glistens, yes. A sump pump with a perimeter drain gives water a place to go. Encapsulation without drainage traps water under the liner. Building Science and the EPA both back this sequence at their crawl space and mold course pages. See this Building Science guide and this EPA page.
Is 6 mil plastic good enough for a vapor barrier
It meets the minimum in many codes. It tears too easily in a working crawl space. I recommend 10 to 12 mil or a reinforced product for any area that will see knees or tool bags. For background, see this home inspector guidance and this product overview.
Should I seal vents or keep them open
In many climates, sealing the crawl space with a ground vapor barrier, wall insulation, and humidity control works better than passive venting. Vents often pull in humid air that condenses on cool surfaces. If you go sealed, plan for either a small supply of conditioned air or a dedicated dehumidifier sized to the space. The Building Science guidance at this page explains why.
Where should a dehumidifier drain
Route it to the outside or into the crawl space sump basin. Do not tie it into house plumbing unless a licensed installer confirms a code compliant trap and air gap. The home inspector article linked above touches on best practices.
Ready for a crawl space that stays dry
No spray beats gravity. Fix outside water first. Where groundwater collects, add a perimeter drain and a crawl space sump pump. Lay a tough under house vapor barrier with tight seams and a sealed wall turn up. For most homes, encapsulate instead of relying on vents, then control humidity with supply air or a dehumidifier. That sequence keeps wood dry, mold bored, and power bills lower. If you want a set of expert eyes or a quote that matches your site realities, reach out to our team at Howard Environmental. We crawl so you do not have to.