
Did October rain expose a problem around your stucco windows that wasn’t obvious during Austin’s dry summer weather? Treat fresh staining, failed sealant, or a musty wall in your home as connected clues until you have a reason to rule them out. If you wait for a larger stain, you may give hidden moisture more time to damage the wall.
Your stucco moisture inspection should start outside after the rain stops, then follow each suspicious area to the matching indoor wall. One crack doesn’t prove water entered the cavity, but you should pay attention when an exterior opening lines up with new drywall damage inside.
Start at the Window Edges
Your stucco windows contain several transitions where water has to be managed. From the ground, look closely at every frame edge you can see. You’ll often find split sealant and gaps beside trim, especially where a joint looks brittle or has pulled away.
Give the window corners extra attention because diagonal cracks often begin there. Check beneath the sill for dark staining or rust-colored streaks. If a previous patch has cracked again, that’s more useful evidence for you than a random hairline mark in an open section of wall.
Use This Post-Summer Checklist
Wait until the rainfall has stopped and the ground around your home is safe. Photograph each suspicious location, and include enough of the wall to identify the window later. Don’t climb a wet ladder or start prying at your trim.
- Check every window perimeter. Look for open joints, detached sealant, or cracks extending from a corner. Notice whether water remains on a projecting sill.
- Follow the mark across the wall. Trace recurring cracks and older patches. Note any areas that remain darker than the surrounding finish after rain.
- Inspect nearby penetrations. Look above and beside the window at light fixtures or utility lines. Water can travel behind your stucco before you see it.
- Review drainage details. Check whether a downspout discharges against the wall. Don’t seal an unfamiliar opening at the wall base because your stucco system may need it for drainage.
- Move to the matching indoor area. Check the same side of the window for stained drywall or separated trim. Continue down to your baseboard when exterior staining appears beneath the sill.
- Record odor changes. Note whether a musty smell becomes stronger after rain and whether it stays concentrated near one exterior wall.
- Compare storms. Record when a stain darkens or your paint begins bubbling. Repeated rain-related changes tell you more than a single dry-weather observation.
Read Cracks in Context
You can’t diagnose a leak from crack width alone. Location and pattern usually tell you more. Take a closer look when a crack connects to a window corner or a roof-to-wall intersection because several parts of your wall system meet at those openings.
A small exterior mark may be the visible end of a longer moisture path in your wall. Water can enter above a window, move behind the finish, and appear beside the interior frame. That’s why coating the obvious crack and walking away can become an expensive shortcut for you.
Stucco is only one part of your home’s water-management system. The window installation and concealed flashing have to work with the wall’s drainage path. The Whole Building Design Guide’s moisture-management resource explains why you need to control bulk water and condensation through the complete building assembly. Fresh caulk can’t correct concealed flashing installed in the wrong position.
Match Outdoor and Indoor Clues
Use each outdoor clue to direct your indoor inspection. An upper exterior corner crack points you to the upper interior corner of that same window. Failed sealant along the left jamb sends you to the trim and drywall on the left side. If you see staining beneath an exterior sill, inspect the wall below it, including the baseboard. This matching process matters because an isolated indoor stain could have another source. When your indoor and outdoor clues align and change after rainfall, exterior water entry becomes more plausible.
Take Musty Wall Odors Seriously
If you notice a musty odor, investigate it, but don’t assume it confirms hidden growth or identifies where moisture entered. Odors can travel through openings in your walls and shift when your HVAC system runs. Write down when the smell is strongest and whether rain changes it.
Concentration gives you the most useful odor clue. A smell that remains strongest beside one window or along one baseboard narrows the area you need to examine. When the odor spreads evenly through several rooms, you may need a broader investigation.
Don’t remove outlet covers or cut your drywall to get a better sniff. Hidden electrical components create an obvious hazard, and you could spread particles into the room by disturbing affected material. Your home investigation should stop at observation and documentation.
The EPA notes that musty odors and prior water damage can justify investigating hidden mold. That guidance keeps your priority straight: locate and correct the moisture source. If you sample a room without understanding the water problem, you may get a laboratory result without a clear repair plan.
Could There Be Mold Behind Stucco?
You could have mold behind stucco if water reaches moisture-sensitive wall materials and keeps them damp. However, you can’t confirm hidden mold from a black exterior stain, the color of interior spotting, or the smell of a room. Surface appearance doesn’t tell you exactly what’s happening inside your wall assembly.
Rain-related drywall staining should concern you more than condensation limited to the glass. Damage at one side of your window frame points more strongly toward exterior entry when you find a failed joint at the corresponding outside location. Even then, the clues tell you to investigate further, not to make a final diagnosis.
What an Investigation Can Clarify
A professional stucco moisture inspection should help you connect exterior defects with indoor findings. If those clues line up at your home, you can ask Howard Environmental to perform an Austin mold inspection that looks for the physical relationship between them. A meter reading without the context of your wall construction and recent weather doesn’t tell much of a story.
What Moisture Meters Show
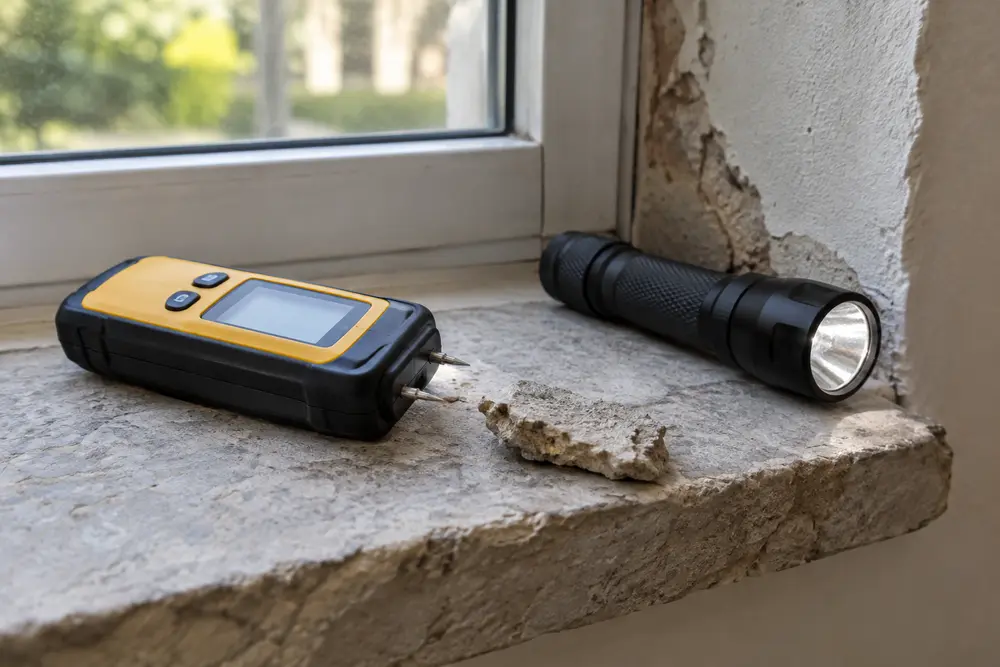
Moisture meters can screen accessible materials in your home and compare a suspicious area with a nearby reference area. Because different materials respond differently, you shouldn’t treat one elevated reading as proof of a leak or mold. The results need to fit your wall construction and the recent weather.
What Infrared Images Show
Infrared imaging shows you surface temperature differences. It doesn’t see mold, and a cool area in your image may reflect insulation conditions or air movement. When conditions are suitable, the image can identify where you should perform closer moisture screening.
You may need targeted access when noninvasive findings point to a concealed problem. Let the evidence guide that decision. If you open large wall areas before tracing the likely moisture path, you may cause unnecessary damage to your home.
Mold testing can help you when it answers a defined question, such as whether concealed growth has affected the investigation scope. You don’t automatically need testing when visible growth already shows that wet material requires attention. If the results would change your next decision, our mold testing process can focus on that purpose.
Act on the Matched Moisture Clue
Your most important step is finding and correcting the moisture source. When an exterior opening lines up with an indoor stain or a rain-related odor, document the match and arrange an evaluation before you patch over the evidence. Paint can hide your stain, and caulk can cover your crack, but neither tells you whether damp material or mold behind the stucco remains inside the wall.
References
- WBDG (wbdg.org)
- A Brief Guide to Mold, Moisture and Your Home (epa.gov)