Wine ages like a legend when you give it the right microclimate. Wine turns into a science project when you do not. The difference rides on two things that almost nobody wants to think about while showing off their racking. Ideal humidity for wine cellar control, plus a legit vapor barrier. Get those right and corks stay springy, labels stay pretty, racking stays straight, walls stay mold free. Get them wrong and your prize vintage smells like a basement gym bag. This guide walks you through wine cellar vapor barrier installation, humidity targets, cooling gear, airtight sealing, monitoring, and exactly what to do if mold tries to crash the party.
Why humidity matters
Wine does not care about your opinion. It cares about physics. Cork is a living material. Too dry and it shrinks. Too wet and it sheds fibers or allows label rot. Relative humidity sets the tone for that cork, the adhesive on your label, the varnish on your racks, even the paper facings on drywall.
Let humidity drift low and corks dry out, which invites oxygen. Oxidation turns nuance into dullness. Let humidity drift high and you will meet mold. Mold loves sugars in label glue and dust on racks. It creeps into drywall cores that were never sealed for cellar duty. It chews up wood finishes. Once it blooms you will also be dealing with musty odors that cling to cardboard cases and shipping inserts.
The kicker is stability. Spikes and dips beat up materials. A short burst of desert dry air during winter can be just as destructive as a muggy week in summer. Tight control protects corks, labels, racks, and walls. Proper control also lightens the workload for your cooling equipment. A tight envelope with a real vapor barrier lowers vapor drive from the warm side to the cool side. That means fewer moisture swings inside the cavity, less condensation in places you cannot see, fewer nasty surprises later.
If you want the deeper building science take, see Wine Guardian’s humidity control basics for cellar environments at humidity control basics. The gist in plain language. You want humidity right in the cellar, not in the walls.
Ideal humidity for wine cellar
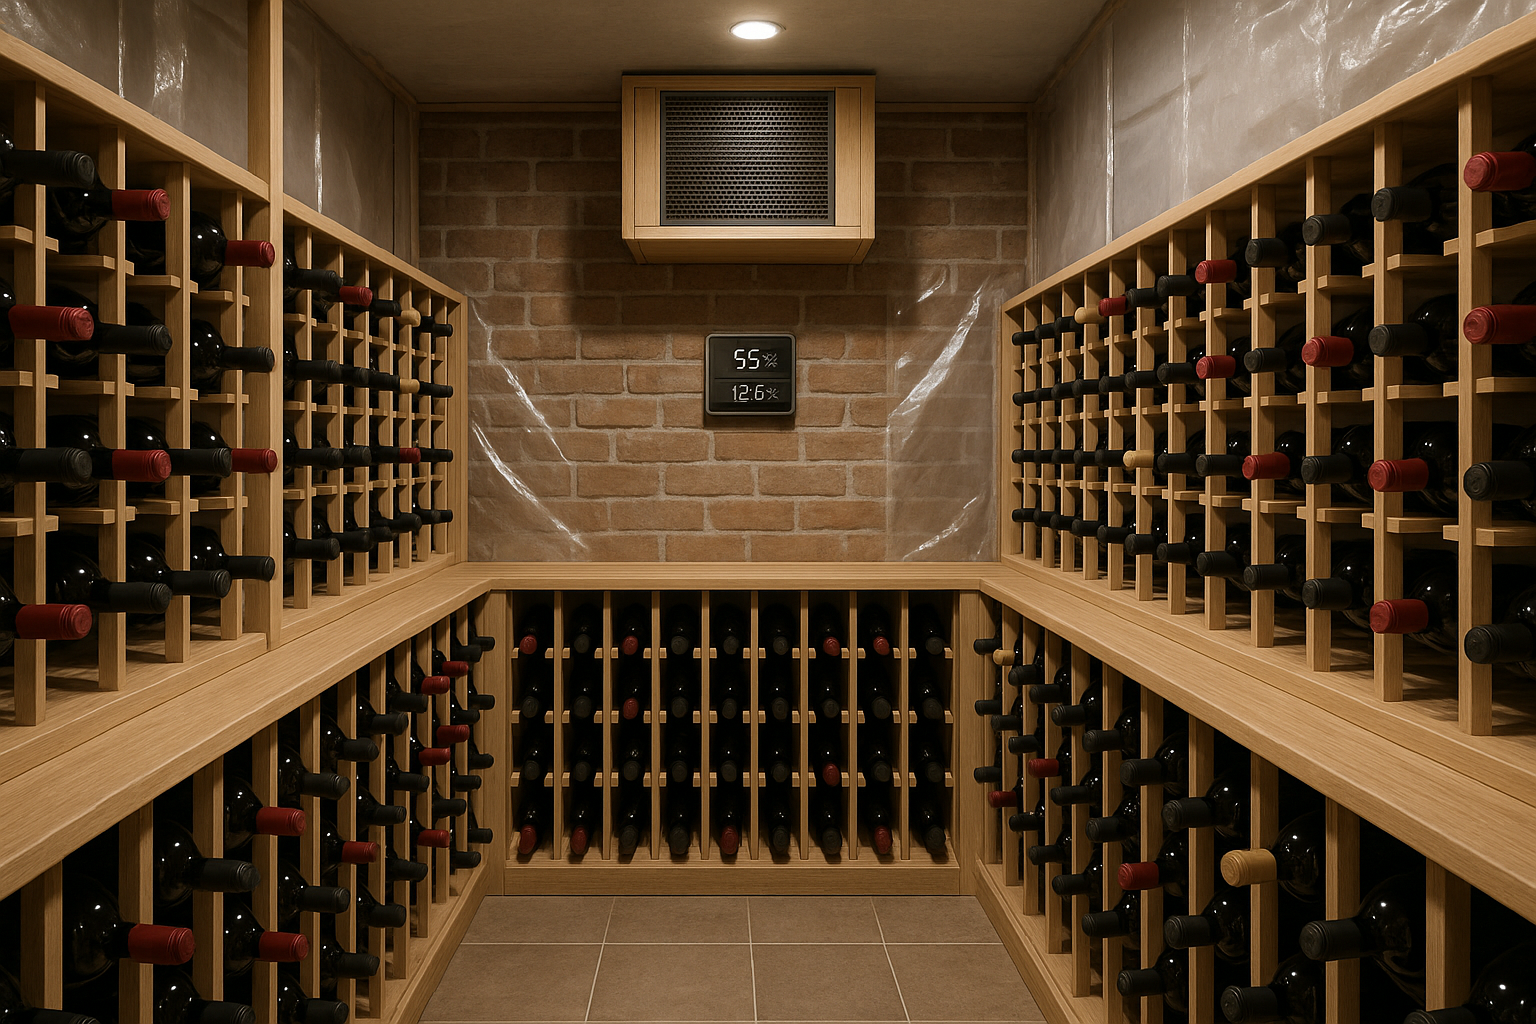
The sweet spot for most private cellars sits around sixty to sixty five percent relative humidity. That keeps corks from drying out while keeping mold pressure down. A wider safe band runs from roughly fifty to seventy percent. Dip below fifty and corks start grumbling. Sit above seventy for long stretches and mold risk rises, especially on labels and unfinished wood. Most homeowners will be happiest with a setpoint around sixty two or sixty three with tight control.
Temperature matters too. Many cellars run fifty five to fifty eight Fahrenheit. Cooling units remove moisture while dropping temperature. So humidity and temperature move together. Oversize a cooling unit and it short cycles, which can leave the air too dry. Undersize one and it may struggle on humid days, which can leave the room damp. Tight air sealing and the correct vapor barrier reduce the cooling load so equipment can hold both temperature and humidity where you want them.
| RH range | What happens | Risk level |
|---|---|---|
| Below 50 percent | Corks dry, oxidation risk climbs, labels curl | High |
| 60 to 65 percent | Balanced protection for corks and labels | Low |
| 65 to 70 percent | Better cork moisture, slightly higher mold risk | Moderate |
| Above 70 percent | Frequent condensation, label damage, mold growth | High |
Want model specific guidance on target bands, especially if you have large glass areas or a display wall. Wine Guardian provides installer grade notes at humidity control basics. For heavy glass or wine walls, many owners add active humidification so corks do not dry out during long winter runs.
Wine cellar vapor barrier installation
Every decent cellar starts with a real vapor plan. You need a continuous barrier on the warm side of the insulation. That keeps warm moist air from moving into cold wall cavities where it condenses. The result is fewer phantom leaks, fewer mold calls, a happier cooling unit, and frankly a cellar you can brag about without crossing your fingers.
Placement matters. In typical North American construction, the warm side is the side facing the finished area that is not the cellar. Think of the vapor barrier as a shield that faces warmth. Install it continuously on that warm side before finishes go up. Tape every seam. Seal every edge. Caulk or gasket every penetration. If you skip a corner or a cable hole, moisture finds it. The detailed why behind warm side placement gets covered nicely at Wine Guardian’s vapor barrier guide.
Material choices. Many cellar builders use polyethylene sheeting. Six mil works for most walls. Heavier liners in the ten to twelve mil class add durability where traffic or future work may puncture thin film. Overlap seams by at least six inches, then tape with a vapor proof tape. Turn the liner up furring and along the ceiling line to create a bathtub effect, then tape or seal that edge. For details on seams, overlap strategy, and liner durability, see our page on vapor barrier material & seam recommendations. For sealing tactics that keep air from slipping past your hard work, the page on vapor barrier & sealing best practices lays out the game plan used in tight crawl spaces. The same logic applies in cellars.
Closed cell spray foam is the other big option. It insulates, acts as an air barrier, and behaves as a vapor retarder at common thicknesses. That means one material can take the place of a separate plastic sheet in many assemblies. Coverage must be continuous. No voids. No missed bays. For prep and coordination tips, IWA has a solid primer at preparing your room for a wine cellar.
Doors and glass need special attention. A cellar door should seal like a fridge. Weatherstripping on all sides. A proper sweep or threshold. For frameless glass or wine walls, talk to the glass vendor about fully sealed tracks and transoms rated for humidified spaces. Even tiny gaps can flood a cellar with warm air every time you walk by. That extra load throws off humidity control and forces your cooling unit into awkward cycles. Wine Guardian’s humidity control basics page touches on glass and door impacts.
Penetrations are where mold loves to start. Any cable hole, light can, pipe chase, or electrical box deserves gaskets or sealant. Use fire rated sealant where code requires it. Do not forget rim joists and the top plate. Air sneaks in from the tiniest cracks, brings moisture, and condenses on the first cold surface it meets. That is how black spots appear behind drywall while the room looks perfect. You will never know until a bottle falls forward and you pull a rack for inspection. If you like seeing building science without the fluff, Building Science Corporation shares context in Building Science BSI 010.
Finish materials deserve thought too. Mold resistant drywall gives you breathing room if moisture does show up. Moisture rated paneling works well. If you love wood, pick species and finishes that tolerate the humidity range you choose. Avoid raw, unsealed wood pressed against any warm exterior surface unless your vapor plan covers it completely. Bare wood can soak up moisture on humid days then feed mold during shoulder seasons.
Install details that stop mold
This is where little moves make you look like a genius. Start with a clean, dry cavity. Fix any water leaks before you build. Prime obvious problem spots like slab edges or old masonry with a product rated to block vapor. If floors are on concrete, talk to your builder about a membrane beneath finished flooring so warm side moisture does not pump into the space where cold air rides close to the floor.
Use continuous insulation that fills every bay. Where glass meets framing, use backer rod plus sealant. Where drywall meets the floor, add a small bead of sealant so air cannot sneak past baseboards. Around recessed lights, pick sealed, insulation contact rated housings, or better yet surface mount fixtures. The fewer penetrations in the lid, the better your control over humidity. That lid takes a beating from warm air that wants to rise into the cavity above.
At wall to ceiling junctions, tape the vapor barrier tight before drywall goes up. Seal the top plate line with caulk or foam. Do not leave that step to chance. If you plan to run speaker wire or networking cable, install sleeves now. Seal around those sleeves. Later changes create holes that rarely get sealed right. Tiny openings can create big moisture problems when cool air sits inside the wall during summer.
Plan for service access. Cooling units like easy access for maintenance. Say yes to a drain with trap where required by the manufacturer, then route the drain where it cannot backfeed. Condensate lines left in a hot attic can act like a steam wand when they clog. That steam then drifts back into the cold side during a failure and soaks your drywall. This is the kind of thing I get paid to fix after the fact. You can avoid it with a simple plan on day one.
Insulation and airtightness
Insulation only works as well as the air seal around it. Gaps kill performance and invite condensation. Think of your cellar like a cooler with fussy taste. It wants a continuous shell. Seal rim joists with two part foam or cut and cobble foam board meticulously sealed at the edges. Spray foam can solve both tasks in one pass if applied by a technician who cares about coverage.
Electrical boxes deserve attention. Use box gaskets or putty pads. Tape the vapor barrier to the box perimeter before drywall. Penetrations behind racks vanish for years at a time, so make them tight on day one. Any can light in a cold ceiling is a potential leak. Many builders skip them now and go with surface fixtures or rails. Your labels will thank you later.
Doors leak more often than walls. Pick a cellar rated door with solid jambs, quality weatherstripping, and a sweep. Use closers on larger doors so guests do not leave them cracked open during a tasting. A ten minute chat can change the humidity balance for hours if the door stands open. Glass doors look great, so take the time to spec gaskets that actually seal. Talk to installers about humidified enclosure standards, not just looks.
Cooling and humidity control
The right equipment works hand in hand with a tight envelope. Cooling units do remove moisture while they drop temperature. The trick is to size the unit to the long term load. Not just square footage. List every heat gain. External walls. Glass. Lighting. Door openings. Adjacent rooms that are unconditioned. Then choose a unit that can hold temperature without cycling too quickly. Cycle too much and humidity drops too low. Strain constantly and the unit fails to pull enough moisture out of the air on muggy days.
Split systems shine in larger cellars where the noisy bits can live outside the room. That setup often delivers better control of humidity. For humid climates, a dehumidifier or a cooling system with strong latent removal helps you hold the sixty to sixty five percent target range. For dry climates, or for wine walls with heavy glass, plan on a humidifier that ties into the cellar controller so you do not overshoot. Manufacturer resources such as controlling humidity in wine cellars give operating ranges and capacity numbers that help you match gear to your space.
Venting and drain routing need the same careful thought. Condensate lines should slope correctly. Traps should be installed where required. Drains should never empty near the cellar foundation. Any backflow or splash near the wall can become a hidden moisture source that fuels mold behind finishes.
If you already own a cooling unit that fights humidity wildly, do not rush to yank it out. Check the envelope first. Air leaks and a missing vapor barrier create swings that no machine can tame. Fix the building shell, then fine tune the mechanicals. That order saves money and grief.
Monitoring and alarms
Control what you measure. Put a dependable digital hygrometer in the cellar. Better yet, use two at different heights. One near the bottles in the mid room. One near a known trouble spot like a glass door or an exterior wall. Log readings weekly. If you like gadgets, tie sensors into a controller that alarms when humidity crosses set limits. A practical alarm set might ping you above seventy two percent or below forty eight percent.
Look for slow trends, not just one bad day. A creeping rise suggests a new air leak or a condensate drain issue. A steady drop might mean the cooling unit is cycling too much after a seasonal change. The point is to catch drift before labels curl or corks shrink.
Keep a small calibration kit so you can check your hygrometers twice a year. Salt tests work well. Sensors drift over time. A ten percent error can lead you to crank a humidifier that is not needed. That can invite mold growth even as you think you are helping the wine.
If mold shows up
First, do not panic. Second, stop feeding the problem. Drop the humidity setpoint a bit. Pause any humidifier. Close the door so you do not push spores into other rooms. Grab a camera. Photograph every spot. Note any musty odors and where they hit your nose hardest. Those notes help a pro pinpoint the source later.
If growth sits only on a hard surface like glass or metal, a simple detergent wipe can knock it down. Dry the area fully. Keep your RH in range for a few days and recheck. Wear gloves, eye protection, and at least an N95 while you clean. Do not scrub labels or unfinished wood unless you are ready to accept damage. Mold can stain wood permanently. A quick wipe will not undo that.
Widespread growth on drywall or wood racks calls for a different approach. Porous materials hold spores deep in the matrix. Poor cleanup spreads spores into the air column which can settle all over your collection. That is where a professional containment setup matters. Negative pressure. HEPA filtration. Controlled removal of ruined materials. Drying to target moisture content. Post cleaning verification. If you have health symptoms, if growth seems widespread, or if the smell hits you at the door, call a pro for professional mold inspection & testing.
If you want to see why moisture triggers mold and how small mistakes snowball, read our primer on how moisture causes mold. It shows the chain of events that turns a tiny air leak behind a rack into that fuzzy art piece you did not commission.
One more reality check. Labels and natural corks can act like mold magnets. Those surfaces can be hard to recover once growth sets in. If the collection is valuable, pause traffic in the room. Keep humidity near sixty. Call for a protocol with clearance testing. You will want a clear before and after snapshot. If you want an idea of budget ranges before you pick up the phone, our quick guide on mold testing cost & what to expect gives a plain language breakdown.
When to call a pro
Call if humidity refuses to settle near sixty to sixty five despite reasonable adjustments. Call if you see condensation inside wall cavities, around light trims, or along glass edges. Call if mold shows up on drywall, wood racks, or labels. Call if the cellar smells like a damp basement after you hold humidity in range for a week. Those are all signs of hidden moisture movement or an assembly that allows vapor drive into cold places.
We can test the air and surfaces, open discreet inspection points, map moisture in the wall, then lay out a plan. Sometimes the fix is a missing seal at the door. Sometimes it is a skip in the vapor barrier near the ceiling. The sooner you catch it, the less you cut and replace. When you want help now, you can schedule a mold inspection. If you prefer email, just contact Howard Environmental and we will set a time.
Quick build path that actually works
Plan the envelope first. Pick either continuous polyethylene on the warm side or closed cell spray foam that creates a continuous air and vapor retarder. Seal every seam. Seal every edge. Seal every hole for lights and wires. Pick a cellar door that seals like a fridge. Address glass with hardware that is rated for humid rooms. Add insulation with no voids or gaps. Then size the cooling and humidity gear to the actual heat gains.
Put two digital hygrometers in service. Set simple alarms at forty eight on the low side and seventy two on the high side. Keep a log so you can see trends. Clean dust from racks and fan grilles a few times a year. Dust feeds mold. Most of this is boring, which is exactly the point. Boring cellars age wine beautifully.
If you like more detail on humidity targets or vapor barrier placement, the Wine Guardian humidity control basics page and the vapor barrier guide are worth a read. For a builder friendly primer on closed cell spray foam as a combined solution, take a look at IWA’s preparation guide. If you want practical field tricks for seams and thicker liners that take abuse, our notes on vapor barrier material & seam recommendations and our vapor barrier & sealing best practices page translate directly to wine cellars.
A quick word on climate quirks
Every house lives in a different climate. Coastal humidity. Desert dry winters. Big temperature swings. Heavy glass shows up in a lot of modern cellars. These realities change how hard your equipment works. They do not change the physics. Warm moist air will chase cold surfaces. Water vapor will condense where air leaks allow it. The solution remains the same. Build a tight envelope. Give the vapor barrier the warm side. Size the equipment to the real load. Monitor performance and adjust.
If local code conflicts with any part of this plan, talk to your builder about compliant assemblies with the same goal. Building Science Corporation shares a grounded look at cellar assemblies in Building Science BSI 010. The message is consistent. Stop air and vapor movement into cold cavities. Then humidity control gets easy.
Wrap up with a real world promise
Keep humidity steady near sixty to sixty five. Use a true warm side vapor barrier or closed cell foam. Seal everything. Size the cooling and humidity gear to the actual load. Watch your numbers with two sensors. Respond quickly to leaks or growth. Do those five things and your cellar turns into a calm cave that ages wine like a pro. Skip any one and you may invite mold, label damage, or cork trouble. If you want a smoother path, we are happy to be the pit crew. You can schedule a mold inspection in a couple clicks. We keep the science tight so your wine can keep the romance.