If you treat your fermenters like sleepy little pets, I’ve got news: they’re more like sweaty linebackers. Yeast throws off heat, gallons of water vapor, and plenty of CO2. Great for beer. Terrible for drywall, finishes, and lungs. If your home brewery smells like a locker room and your hygrometer keeps screaming, you’re feeding mold and risking off-flavors. This guide lays out practical, field-tested home brewery humidity control and fermentation room ventilation tricks that protect your batches and your space. We’ll keep it real, keep it safe, and keep it clean enough to pass the mother-in-law test.
What Fermentation Does To A Room
Active fermentation is a microbe-led sauna session. The process is exothermic, so your fermenters warm the room and evaporate moisture. That moisture spikes relative humidity, then condenses on the coldest surfaces. Add porous materials like raw drywall or unsealed wood, and you’ve built a tiny mold resort with unlimited snacks. Meanwhile CO2 displaces oxygen near the floor and can pool in low spots. That’s a brewing hazard, not a badge of honor.
Two missions sit on your clipboard: move moisture out before it condenses and manage CO2 so air stays breathable. Do those consistently and you keep mold at bay, protect equipment, and help your yeast make clean beer instead of sweaty-gym-sock specials.
How Much Ventilation Do You Need?
In production spaces, ventilation is sized by air changes per hour. Commercial brewery guidance often targets roughly 15 to 25 ACH in fermentation or production areas to handle heat, steam, and CO2 during busy cycles. That gives you a benchmark to scale-down for a home setup while still being ambitious during active fermentation. The math is simple: CFM equals room volume times ACH, divided by 60. If your fermentation room is 1,200 cubic feet and you want 12 ACH during an active week, you’d target about 240 CFM split between exhaust and makeup air. If you can push higher during peak activity and dial back in resting weeks, even better.
Don’t just yank air out and hope the universe backfills it. Exhaust without makeup air makes your room suck air through every crack, potentially from crawlspaces, garages, or around gas appliances. That invites backdrafting and off-odors. Pair every exhaust fan with a clear path for outdoor air to come in. Use a louvered intake or a controlled damper so the room breathes on purpose, not by accident.
Place exhaust in two zones. High exhaust handles heat and steam near the ceiling. Low exhaust near the floor pulls pooling CO2 where it actually collects. CO2 is heavier than air in still rooms, which is why that low pickup matters. Keep duct runs smooth, pick quiet inline fans that can take a little moisture, and route discharge outside. Never dump brewery exhaust into an attic or crawlspace unless you enjoy growing mushrooms you didn’t order.
Quick safety note if your brewery shares space with a gas water heater or boiler: strong exhaust can pull flue gases back into the room. If you have combustion appliances, involve a qualified HVAC pro to test worst-case depressurization and to add a dedicated makeup air path so you get airflow without backdrafts.
CO2-Safe Exhaust And Monitoring
CO2 is the silent, boring gas that knocks you on your butt. Keep an eye on it. Place at least one monitor at breathing height and another near the floor where it tends to accumulate during heavy fermentation runs. Commercial designers use that dual-sensor approach for a reason. Monitors with data logging make it easy to spot trends and adjust fan run-time before anything gets dicey.
Outdoors sits near 400 ppm. ASHRAE 62.1 uses roughly 700 ppm above outdoor as a proxy for adequate ventilation during occupancy. OSHA’s permissible exposure limit is 5,000 ppm averaged over an 8-hour workday. Your target is not to flirt with limits. Set your detector to nag you well before that. Many brewers treat 1,200 to 2,000 ppm as a nudge to kick up ventilation and open the makeup air. If your room layout creates low pockets, the floor sensor will tell on you fast.
What about purging? If you run a low-level exhaust, you can schedule automatic purge cycles during peak fermentation. Tie purge fans to the CO2 monitor or to a timer so you are not guessing. Always verify that incoming air is from outside, not from a garage or mechanical room.
Dehumidifiers That Actually Keep Up
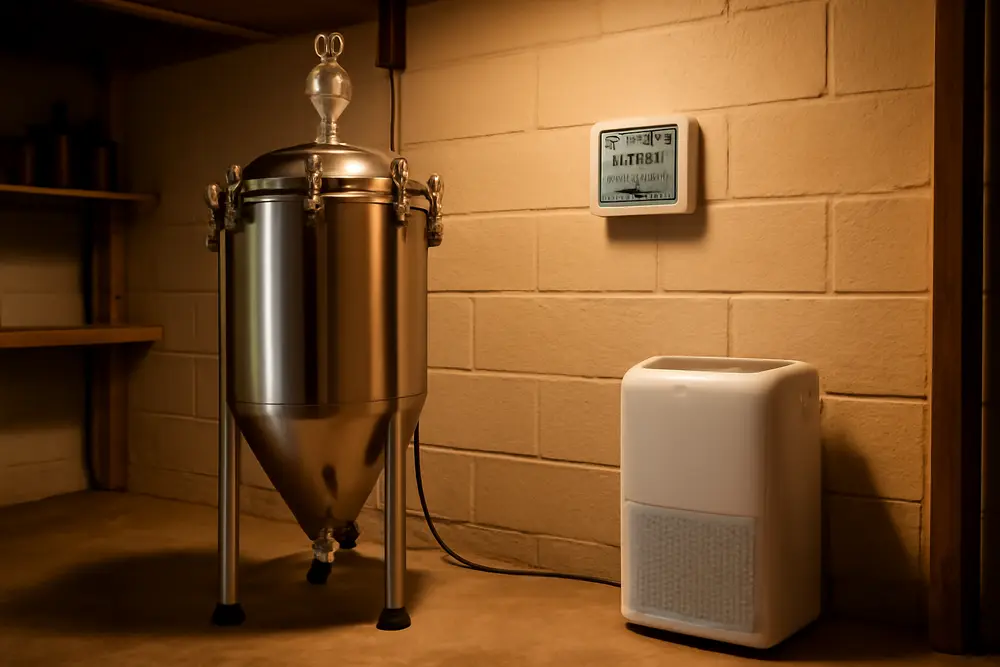
Ventilation handles heat and gases. Dehumidifiers handle the moisture you do not want to send outdoors during cold or hot snaps, and they help you keep a tight RH band day-to-day. Capacity matters more than brand loyalty. If your room is small but you run several bubbling fermenters plus a busy cleaning routine, size up. It is common for home brewers to need a 50 to 70 pint-per-day unit for a single-room brewery, with larger or multiple units when the fermenter count climbs or the room connects to a damp basement.
Placement makes or breaks performance. Put the unit where air can actually circulate from the largest open volume, not stuffed in a corner like it is in time-out. Corners are dead zones that starve the intake and strand humid air across the room. Give the unit a couple of feet of clearance on all sides if possible, and keep the cold coil discharge path unobstructed so it can stir the whole space.
Elevate the unit on a sturdy shelf or platform. That lets you run a continuous-drain hose with steady downward slope to a floor drain or sump without sad loops. If gravity will not cooperate, install a condensate pump and run the discharge line up and out. Avoid sagging hoses that trap sludge, because nothing says Saturday fun like a biofilm fountain.
Maintenance is what separates dry rooms from mold dioramas. Clean filters monthly or more often if the unit runs 24-7. Flush the bucket and drain line regularly so slime cannot colonize. Every quarter or so, unplug the unit, pop the cover, and gently clean the coils and fan blades. Follow the manual and lay a towel because you will find lint you did not know existed. A tuned dehumidifier pulls RH down fast and holds it, which steadies fermentation temps and protects finishes.
Surfaces That Laugh At Spills
Breweries are wet, sticky environments, and nobody wants to tiptoe around a precious wall surface. Paint and coatings matter. Choose washable, scrub-friendly products that add mold and mildew resistance so cleanup is just a bucket and a glove, not a therapy session. Options like Behr Ultra Interior Paint and Primer provide a durable, washable finish designed to resist mold and mildew growth on the paint film. Rust-Oleum’s Perma-White line is another long-wear, moisture-hardy option with a satin finish that cleans up fast. Use light colors so you can spot condensation tracks and leaks early.
Floors take the brunt of rinse water, hops shrapnel, and sanitizers. Sealed concrete, epoxy coatings, or commercial-grade tile hold up well. Slope to a floor drain if you can. If you cannot change slope, at least define a drain path with squeegees and keep a small wet vac handy. Baseboards and trim should be PVC or metal, not raw MDF. Any wood that lives in a brewery should be sealed on all sides, edges included, unless you enjoy playing whack-a-mold later.
Your Quick-Clean Routine
Fast, frequent cleanup beats heroic deep cleans. Right after you rack, mop up spills, rinse sticky spots, and wipe fermenter exteriors before the sugar becomes glue. Check the dehumidifier hose while you are down there. If it looks like a terrarium, rinse it out and get the slime out now, not next month. Squeegee standing water toward the drain or out the door so it does not evaporate into tomorrow’s RH spike.
Once a week, review your RH and CO2 logs, clean or swap the dehumidifier filter, and pop the bucket out for a rinse if you are not on continuous drain. A quick look at low corners behind fermenters will catch condensation patterns that your nose might miss. Every quarter, plan a real tidy-up: coil cleaning on the dehumidifier, check the ventilation fan blades and grilles, wash walls with a mild cleaner safe for your coatings, and vacuum dust from tops of tanks and shelves. Dust holds moisture and spores like a champion. Do not let it.
Targets To Brew By
Set practical targets and brew to the scoreboard. During active fermentation, a room RH target of roughly 45 to 55 percent keeps condensation in check while avoiding bone-dry static conditions. When your tanks are resting, you can run lower, around 40 to 50 percent, depending on local climate and comfort. CO2-wise, keep readings close to outdoor levels during light work and treat 1,200 to 2,000 ppm as a cue to bump ventilation. If you ever see levels approaching occupational limits, that is not bravado, that is a problem to fix before the next pitch of yeast.
| Parameter | Active Fermentation | Light Duty/Resting | Notes |
|---|---|---|---|
| Room RH | 45 to 55 percent | 40 to 50 percent | Shift lower in winter if condensation shows up |
| CO2 | Keep as low as practical | Near outdoor + 700 ppm | Far below OSHA 5,000 ppm 8-hour TWA |
| Air Changes | Push higher during peak | Lower baseline | Commercial rooms often aim 15 to 25 ACH |
Makeup Air Without Mayhem
Fresh air intake is not optional. Every cubic foot you exhaust needs a cousin coming in. The clean version looks like a louver or damper bringing outdoor air to the space, ideally tempered if your climate is extreme. The messy version looks like your room stealing air from a garage or pulling a draft down a water heater flue. Keep it clean. If you do not want to punch a wall, you can use a through-wall intake with a bug screen and a controllable damper tied to your exhaust fan switching. If the outdoor pollen count is bonkers, add a simple filter to the intake. You are not building a clean room, but you do want to keep leaf litter out of your boil kettle.
Fan And Duct Placement That Works
Think like air. Hot, moist air rides up. CO2 and cool air sink. A ceiling exhaust grille above kettles or hot cleaning stations carries off steam. A low wall or floor-level pickup near fermenters sweeps CO2. Keep fans away from direct splash and out of corrosive plumes. Inline mixed-flow fans give you quiet power in short duct runs. If you go long, upsize the duct so friction does not kill your CFM. Tape joints properly and slope any horizontal run that might see condensation back toward a drain point so water does not sit in the duct like a hidden swamp.
Smart Dehumidifier Placement
This is where home brewery humidity control pays dividends. Park the unit in the open, facing the largest air volume. If your brewery takes half a basement, keep it in the center of that half, not behind a stack of grain. Raise it so the drain slopes. Keep the power cord safe from rinse water. If the unit has a washable prefilter, make that rinse a weekly habit during summer or during heavy fermentation. If your space is split into alcoves, add a small circulation fan on low to kick damp air toward the dehumidifier. You are not making a wind tunnel, you are helping the machine harvest moisture from across the room.
Materials You Will Not Regret
Moisture laughs at shortcuts. Use PVC or stainless for trim. Choose shelving that tolerates frequent wiping and the occasional sanitizer splash. For walls, smooth scrubbable paints make life easy. Products marketed as mold and mildew resistant do not stop a flood, but they absolutely make routine cleanup faster. If you build a backsplash around a slop sink, tile it or use a washable panel, and seal the edges with a high quality silicone so water does not wick behind. Avoid carpet anywhere near brewing. If you need a fatigue mat, pick closed-cell mats you can hose off and hang dry after long brew days.
Seasonal Tweaks
Summer air is already humid, so plan for longer dehumidifier run-time and more aggressive ventilation during active weeks. If your intake air is a swamp, run more dehumidification and trim back the makeup air flow to what you need for CO2 control. In winter, cold air is dry but surfaces can be cold, which makes condensation easy when you warm the room. That is when you keep RH on the lower edge of your target band and watch for cold corners. A small fan nudging air across exterior wall corners can stop condensation rings that pretend to be art until they turn into mold polka-dots.
Data, But Make It Useful
Grab an RH monitor you trust and a CO2 monitor with alarm. Mount the RH sensor away from direct discharge of the dehumidifier and away from steamy kettles so it reads the room, not the plume. Let the CO2 sensors log for a week during a busy fermentation cycle and again during a quiet week. If you see predictable spikes, schedule your fans and dehumidifier to lean in before the spike. You just turned guesswork into a control plan, and your yeast will reward you with fewer temperature swings and cleaner ferments.
DIY Or Call A Pro?
If you are handy with a hole saw and a level, you can set up effective fermentation room ventilation and dehumidification in a weekend. Use the ACH math to size fans, plan a real makeup air path, and keep your air routes short and smooth. If gas appliances share the space, or if your room is stubbornly damp even after upgrades, bring in a pro. We build custom humidity load estimates for home breweries and fermentation rooms, and we test for mold before and after upgrades so you can prove the fix worked. If you want a simple, right-sized plan without guessing, ask for a quick walkthrough and a layout sketch. Your beer deserves it, and so do your walls.
What To Do If You Already Smell Musty
Do not mask it with citrus cleaner and hope. Musty means growth, and growth means moisture is winning. First, get the room dry. Bump fans and dehumidifier to hit the targets above for two weeks. Clean washable surfaces. Swap or deep-clean porous items like cardboard, fabric, and raw wood. If the smell lingers or you see spots spreading, it is test time. Surface and air sampling will tell you whether you are seeing common background levels or an indoor source that needs remediation. Once we know what is there, we can map the moisture source, fix the airflow or drainage that fed it, and get you back to brewing without the mystery funk.
FAQ For Home Brewers
Can I vent brewery air into my attic?
No. Attics are not exhaust plenums. They are cold in winter and hot in summer, which turns your moisture into condensation and rot bait. Always vent outside with a proper hood or wall cap.
Is CO2 really heavier than air?
Yes in still rooms, which is what we care about here. It pools low without mixing, so a low-level exhaust pickup and a floor-level detector are worth the small effort.
Do I need HEPA filters for intake air?
For most home breweries, no. A simple intake filter that stops bugs and debris is fine. You do not want to choke airflow. Save HEPA for clean room projects or if you are doing very sensitive mixed fermentations and willing to pay the pressure drop tax.
How do I set a CO2 alarm point?
Keep it conservative. Many brewers set a pre-alarm around 1,200 to 1,500 ppm to kick on fans and open makeup air, with a high alarm to clear the room and investigate. Staying far below occupational limits is the goal.
What dehumidifier size should I buy?
Match it to room volume, leakiness, and your fermentation schedule. A 50 to 70 pint unit handles many single-room breweries. If your space is big or you run several fermenters hard, size up or run two smaller units so you can stage capacity.
How often should I clean the dehumidifier?
Filters monthly, bucket and hose flush often, and a deeper coil cleaning every few months. If RH is consistently high or you run the unit 24-7, clean more often. Clean it before it becomes a problem.
Your Action Plan
Start with the numbers. Calculate an ACH target and pick fans to match. Add a dedicated makeup air path. Place a low-level exhaust for CO2 and a high-level exhaust for steam. Park a dehumidifier in the open on a shelf with a clean drain run. Paint with washable, mold-resistant coatings and seal moisture-magnet materials. Build a 10-minute post-brew cleanup and a weekly check for RH, CO2, and slime. Track your readings for a month. If the lines flatten and your room dries out, you nailed it. If they bounce, tweak fan run-times and dehumidifier settings until the room obeys you.
When you are ready for a custom humidity load estimate, or if you want pre- and post-upgrade mold testing, reach out. We help home brewers turn damp, echoey rooms into tidy, breathable spaces that make clean beer year-round. No mysteries, just data, airflow that hits the targets, and finishes that shrug off the mess.
Sources worth your time: ventilation design norms in brewery rooms including 15 to 25 ACH and the high-and-low exhaust approach; CO2 exposure guidance and the 700 ppm above outdoor ventilation proxy; and practical dehumidifier placement, drainage, and cleaning tips. Product links for washable, mold-resistant paints are examples, not endorsements. Build with your space and climate in mind, and when in doubt, ask for help before you cut holes.